Wholesale Suite licenses allow you to activate up to three staging sites per license key. This means you can safely test updates and features in a controlled environment before applying changes to your live store. As a result, managing your WooCommerce site becomes easier and more reliable.
Step 1: Use a Valid Staging Domain
To ensure our system recognizes your staging site, its domain name must follow one of the supported patterns. These include:
- localhost
- 127.0.0.1
- *.dev
- *.local
- *.test
- *.staging
- *.example
- *.invalid
- dev.* ( ex. dev.domain.com)
- local.* ( ex. local.domain.com)
- staging[0-9].* ( ex. staging.domain.com or staging1.domain.com)
- stage.* ( ex. stage.domain.com)
- *staging.wpengine.com
- *stg.wpengine.com
- *dev.wpengine.com
- dev-*.pantheonsite.io
- test-*.pantheonsite.io
- staging-*.kinsta.com
- staging-*.kinsta.cloud
- env-*.kinsta.com
- *.myftpupload.com
- *.ngrok.io
- *-dev.ksysweb.com
- *-stg.ksysweb.com
- *.cloudwaysapp.com
- *.tempurl.host
If you’re a hosting provider offering staging services and would like your domain pattern added, feel free to contact us.
Step 2: Get Your Plugin License Key
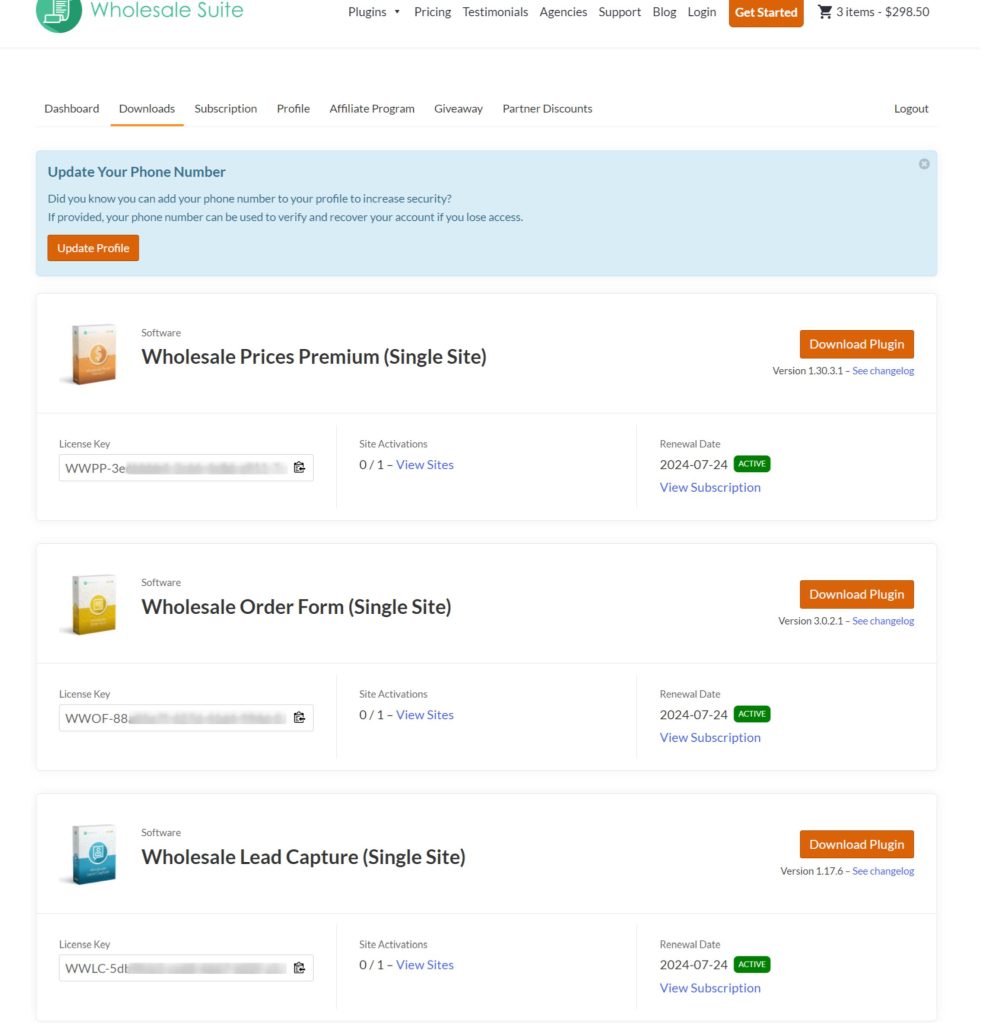
Next, log in to your account on our website. Go to the Downloads tab to find your plugin and copy the license key associated with it.

Step 3: Activate the License on Your Staging Site
Now, log in to the WordPress dashboard of your staging site. Navigate to Wholesale → License.
Paste your license key into the field and click Save. After saving, the site will be activated, and you’ll receive a confirmation message.

Step 4: Manage or Remove a Staging Site
If you need to remove a staging site from your license, simply return to the Downloads tab in your account. Click View Sites next to your license to see all activated domains. From there, you can remove any staging site as needed.


